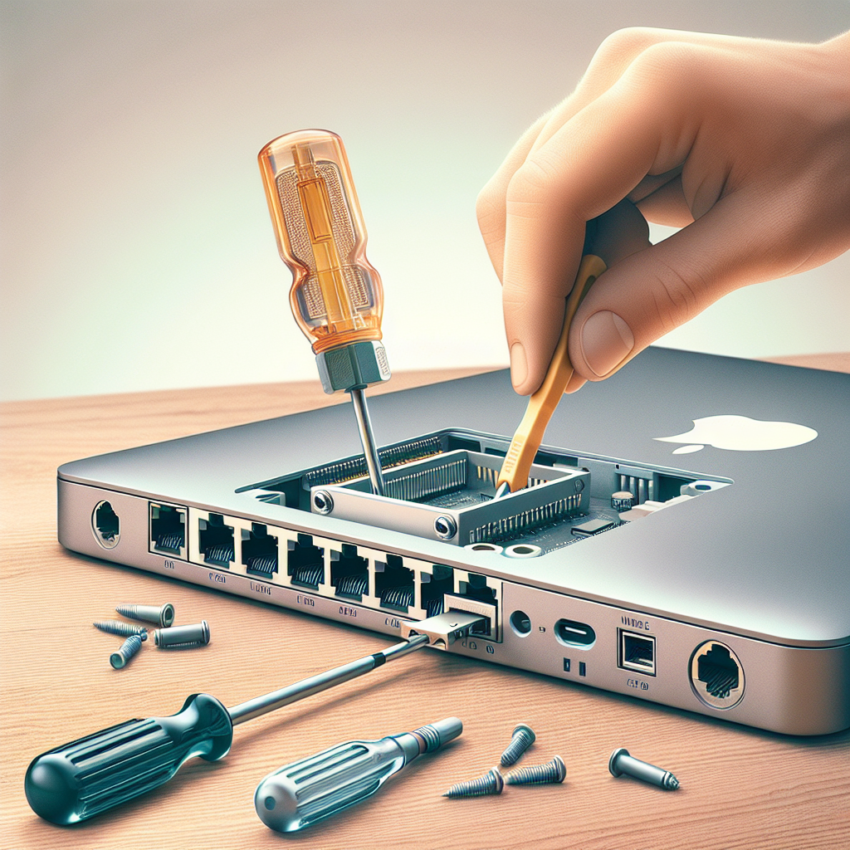
Installing a network adapter on a Mac is a straightforward process. Whether you are adding a wired or wireless network adapter, following a few simple steps will ensure that your Mac is connected to the internet seamlessly. This guide will walk you through the entire process.
Table of Contents
- Check Compatibility
- Hardware Installation
- Software Installation
- Configuring Network Settings
- Testing the Connection
Check Compatibility
Before proceeding with the installation of a network adapter, it is crucial to ensure that the adapter is compatible with your Mac operating system and hardware.
- Operating System: Check whether the network adapter supports macOS.
- Ports & Interfaces: Ensure that your Mac has the necessary port (USB, Thunderbolt, etc.) to connect the network adapter.
Hardware Installation
Once compatibility is confirmed, you can proceed with the hardware installation:
- Unbox the Network Adapter: Carefully unpack the network adapter and any accompanying accessories.
- Power Off Your Mac: To avoid any electrical issues, it is advisable to power off your Mac before connecting the network adapter.
- Connect the Adapter: Insert the network adapter into the appropriate port on your Mac. Ensure it is securely connected.
- Power On Your Mac: Once the adapter is connected, power on your Mac.
Software Installation
Most modern Macs will automatically recognize and install the necessary drivers for network adapters. However, if the system does not automatically install the drivers, follow these steps:
- Insert the Driver CD: If your network adapter comes with a driver CD, insert it into your Mac’s CD/DVD drive. Alternatively, you can download the drivers from the manufacturer’s website.
- Run the Installer: Locate and run the installer file. Follow the on-screen instructions to complete the installation.
- Restart Your Mac: After the installation is complete, restart your Mac to apply the changes.
Configuring Network Settings
Once both hardware and software installation are complete, you need to configure the network settings:
- Open System Preferences: Click on the Apple menu and select System Preferences.
- Go to Network: In the System Preferences window, click on Network.
- Select Your Network Adapter: If the network adapter is correctly installed, it should appear in the list of network interfaces.
- Configure Settings: Choose the appropriate settings for your network, such as DHCP or manual IP configuration, and click Apply.
Testing the Connection
To ensure that the network adapter is functioning correctly, test the internet connection:
- Open a Web Browser: Launch Safari or any other web browser.
- Visit a Website: Enter a URL to ensure that the internet connection is active and stable.
- Check Speed & Stability: Optionally, you can use online tools to check the speed and stability of your connection.
If the internet connection is working smoothly, you have successfully installed your network adapter.
Troubleshooting Tips
- No Connection: If you experience no connection, ensure that the network adapter is correctly inserted and the drivers are properly installed.
- Slow Speeds: Check for any software updates for the network adapter that may improve performance.
- Driver Issues: If the drivers are not working correctly, try uninstalling and reinstalling them.
Conclusion
By following these steps, you can install a network adapter on your Mac with ease. Ensuring compatibility and proper installation will provide you with a reliable internet connection, whether you are using a wired or wireless network adapter. This guide helps streamline the process for a hassle-free setup.

