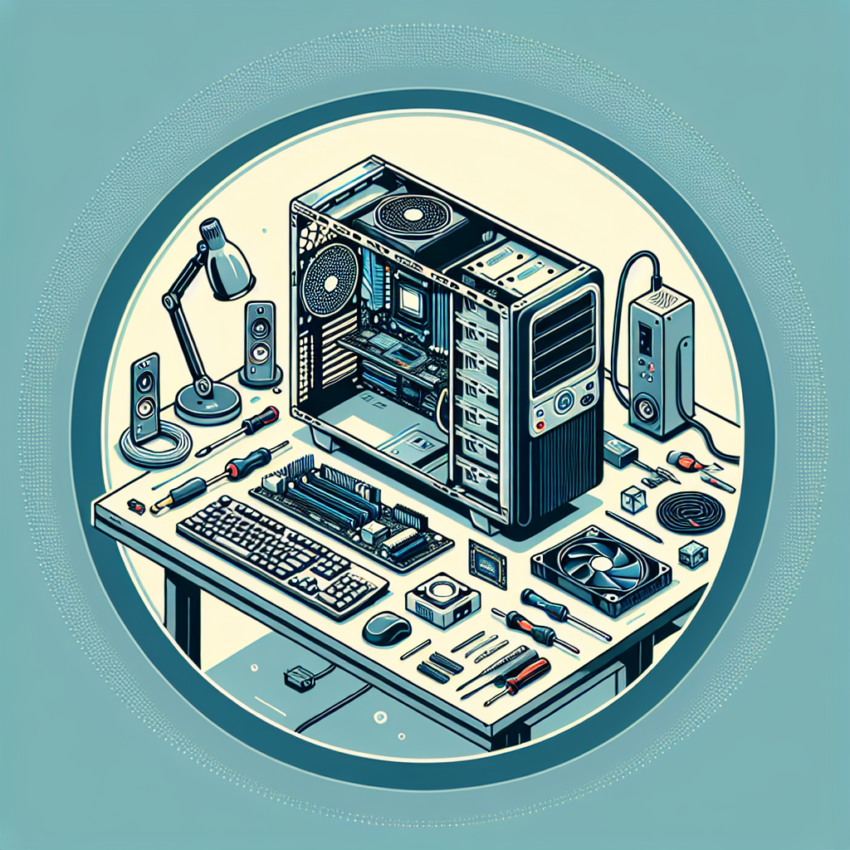
Building your own computer can be an incredibly rewarding experience. Not only do you get the satisfaction of creating something with your own hands, but you also have the flexibility to select the exact components that meet your needs and budget. This comprehensive guide will walk you through the entire process, from choosing the right parts to assembling them, and ensuring your system works perfectly.
Components You Need to Build a Computer
Before you start building, it is important to know what components are required:
- Processor (CPU)
- Motherboard
- Memory (RAM)
- Storage (SSD or HDD)
- Power Supply Unit (PSU)
- Graphics Card (GPU, if not using integrated graphics)
- Computer Case
- Cooling System (Air or Liquid)
- Operating System (OS)
Component Selection
The table below provides a brief overview of what each component does and some popular options available in the market:
| Component | Function | Popular Options |
|---|---|---|
| Processor (CPU) | Brains of the computer, executes instructions | Intel Core i9, AMD Ryzen 9 |
| Motherboard | Main circuit board, connects all components | ASUS ROG, MSI MEG |
| Memory (RAM) | Temporary storage for active processes | Corsair Vengeance, G.SKILL TridentZ |
| Storage (SSD or HDD) | Permanent storage for data and programs | Samsung 970 EVO (SSD), Western Digital Blue (HDD) |
| Power Supply Unit (PSU) | Supplies electricity to components | Corsair RM750x, EVGA SuperNOVA |
| Graphics Card (GPU) | Renders images, videos, and animations | NVIDIA RTX 3080, AMD Radeon RX 6800 XT |
| Computer Case | Houses all components | NZXT H510, Cooler Master NR200 |
| Cooling System | Keeps components cool to prevent overheating | Noctua NH-D15 (Air), Corsair H100i (Liquid) |
| Operating System (OS) | Software interface for hardware and user interaction | Windows 10, Linux |
Step-by-Step Assembly Guide
1. Prepare Your Workspace
Find a clean, clutter-free workspace. Make sure you have all your tools (screwdrivers, anti-static wristband) and components ready. An anti-static mat can be helpful to prevent static electricity damage to your components.
2. Install the CPU
Place the motherboard on your workspace. Open the CPU socket and carefully place the CPU into the socket, aligning the notches. Secure it by closing the socket arm.
3. Attach CPU Cooler
If you are using an air cooler, apply a small amount of thermal paste to the CPU. Mount the cooler onto the CPU according to the manufacturer’s instructions. For liquid coolers, follow the manufacturer’s guide for installation.
4. Install RAM
Identify the correct slots for dual-channel mode on your motherboard. Open the latches on the RAM slots, then insert the RAM sticks firmly until the latches click back into place.
5. Mount the Motherboard to Case
Prepare the case by installing standoffs in the appropriate positions for your motherboard. Align the motherboard with the standoffs and secure it using screws.
6. Install Storage
Depending on your storage type (SSD or HDD), locate the appropriate bays or slots in your case to mount your drives. Secure them with screws if necessary and connect them to the motherboard with the appropriate cables.
7. Power Supply Installation
Place the PSU in its designated area in the case. Secure it with screws. Connect the power supply cables to the motherboard, CPU, GPU (if applicable), and storage devices.
8. Install Graphics Card
If you are using a dedicated graphics card, find the appropriate PCIe slot on your motherboard. Remove the corresponding expansion slot covers on your case, insert the GPU, and secure it with screws. Connect the power cables from the PSU to the GPU.
9. Connect Front Panel Connectors
Connect the front panel connectors (power button, reset button, USB ports, audio ports) to the motherboard. Refer to your motherboard’s manual for the exact pin configuration.
10. Tidy Up Cables
Use zip-ties or Velcro straps to manage and tidy up the cables inside your case. This improves airflow and makes your build look cleaner.
11. Test the System
Before closing the case, connect your monitor, keyboard, and mouse. Power on the computer to check if it boots to the BIOS. If everything is working correctly, proceed to install your operating system.
Installing the Operating System
Insert your OS installation media (USB or DVD) and power on your computer. Follow the on-screen instructions to install the operating system. Once the OS is installed, download and install drivers for your motherboard, GPU, and other components to ensure optimal performance.
Conclusion
Building your own computer is a highly satisfying endeavor that allows you to customize your system according to your exact needs. By following this guide, you will have a reliable, high-performing computer setup that can be upgraded and modified as your requirements change over time. Enjoy your new custom-built PC!

